06/08/2025

H.R.E.N.28: Turnip Adventures of the 44th Good Root Disciples

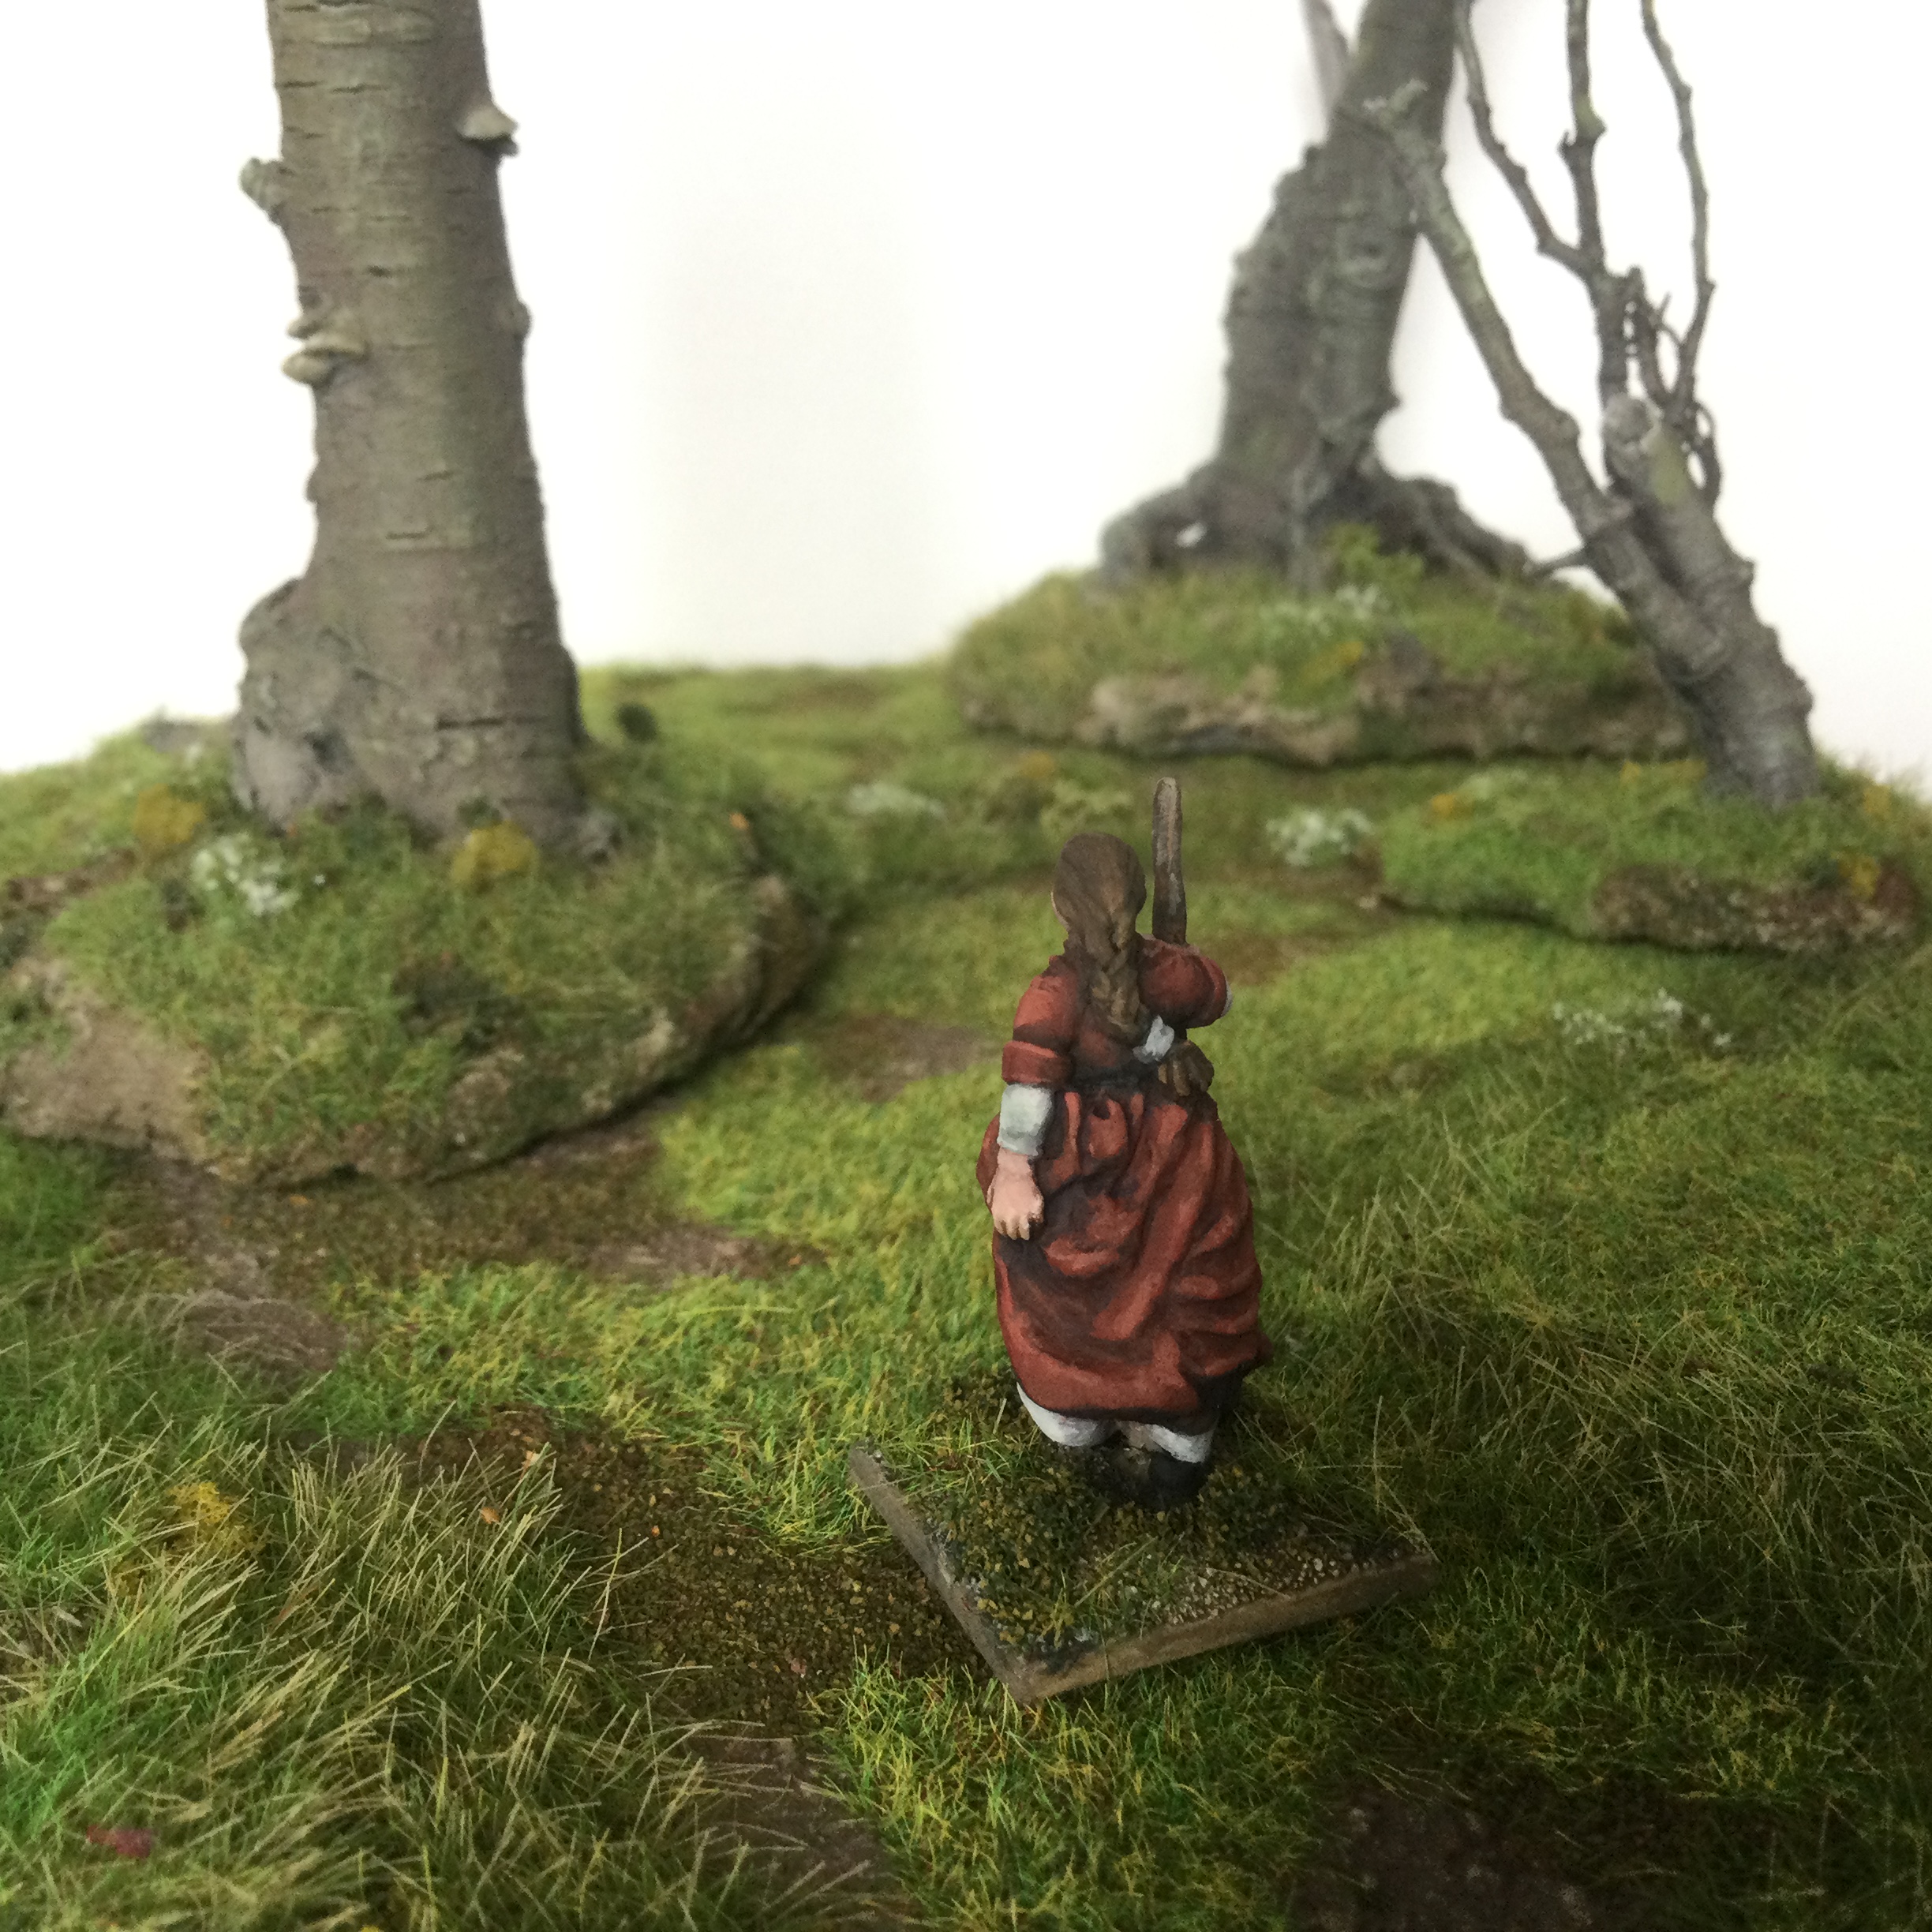
The Regiment of the 44th Good Root Disciples was formed partly because of the unfortunate demise of the 43rd regiment, and partly because of the Shooting Star that crossed the skies over Cist a long, long time ago (likely last March).

After the star had appeared, myriad (around 12) cults argued what it really was, each coming up with their own interpretation. They were ready to take up arms to prove they were right, and the resulting kerfuffle was later (April at the latest) known as the Idiotic Schism.

This is the story of the 44th Good Root Disciples, and their adventures in the distant land of Ptui.

05/06/2025

Using Agincourt Perry Miniatures for St John's Polyptych of Stargard


St John's Polyptych of Stargard is a very neat altarpiece dating back to years 1450-1460. You can see it on Wikipedia, or even better in the National Museum of Szczecin, in all its glory; the thing is huge and feels holy. On two of its wings, it depicts scenes from the life of Christ, and so it also has its share of armed men. Someone has to do the baby-killing and crucifying, after all. 

For someone seeking references for late 15th century Pomeranian soldiers, the Polyptych is invaluable, even though it's more stylised than relatively realistic paintings of Gdańsk and Kołobrzeg. The altarpiece is from the very same Stargard from which hails one of the pavisemen I painted. 


I haven't included the Polyptych in my earlier overviews of Perry kits as, even though the altarpiece is barely 10-20 years older than the Gdańsk's "Siege of Malbork", it depicts decidedly older-looking arms and armour, which you can't really find in the War of the Roses-era models. I read somewhere that in medieval Europe, every few decades there was a quite sudden change in the look and style of military equipment, so maybe in Pomerania that shift happened between 1450s and 1470s; or maybe the painters depicted some old equipment they had lying around; or maybe West Pomerania was a backwater behind the times. We don't really know. The sources are sparse.

22/05/2025

Using Perry Foot Knights 1450-1500 for Pomerania


My overview of Perry kits viable for my beloved late 15th century Pomeranians continues with this box that I bought quite a while ago, when I was already planning some Turnip miniatures, but knew nothing of epic highs and lows (mostly lows, though) of the Pomeranian Cow War of 1469 and related conflicts.


16/05/2025

Using Perry Mounted Men at Arms 1450-1500 as Pomeranian knights


My Pomeranians are mostly built using plastic kits from Perry Miniatures. As I'm planning to build some cavalry, I'm figuring out what parts of Perry's Mounted Men at Arms 1450-1500 would work in my historical setting.

Note: I am not a professional historian, and what I write below are educated guesses of a hobbyist with the experience of a few days at a local university library.

Note 2: I'm checking historical accuracy for Pomerania only. The model kit by Perry may be perfectly historically accurate for other locations even when it doesn't match my own. 

08/05/2025

44th Good Root Disciples


"44th Good Root Disciples pledge their arms to the defence of Geets.

Our fathers died for hopeless causes, our grandfathers died for hopeless causes, and 43 Good Root Disciple regiments before us died for hopeless causes, and so we would gladly die for a hopeless cause as well. Our Banner may be Black like our Hope for Victory, but our Hearts are True.

Geets Shall Stand! Cukier Krzepi!"

--- ensign Barszcz, in the name of lieutenant Moszcz, who is currently suffering from a severe case of indigestion

04/05/2025

Heske Dronnawen


In the summer 1471, due to sluggish peace talks, the long and bloody war between Brandenburg and Pomerania was still not over. But Heske was in love for the first time in her life and it was the only thing that mattered.

(the mini was hand-sculpted from scratch -- the background is historical, particular character stories are fiction)


24/04/2025

More crossbowmen


We have some knowledge of uniform liveries worn by soldiers in the 15th century (white and red for Lubeck town levies, for example), but we also often get depictions of soldiers wearing mismatched colours - like the mercenaries in the painting depicting the siege of Malbork.

06/04/2025

Gerolt of Riga


On a somewhat less historically accurate note, behold Gerolt of Riga, a Latvian mercenary with high professional ethics. 


Soundtrack: https://www.youtube.com/watch?v=bHqSw44eDU0

31/03/2025

Pavisers


We have hardly any sources for 15th century Pomeranian coats of arms, but we do have municipal seals on which coats of arms are often based. Kolberg (modern Kołobrzeg), a bishop's see, featured crossed croziers, a mitre, and waves in its seal from the late 15th century.


For Stargard, its highly stylised Mill Gate featured on several seals. The gatehouse building was the meeting place of the Sailors' Guild, the most prominent guild in town. 

(sources: Czerner 1989, "Herby miast województwa koszalińskiego", Gut 1995, "Rozwój herbu Stargardu Szczecińskiego...")

29/03/2025

Handgunner

In 1470s, the crossbow was the prevalent Polish mercenary infantry weapon, with barely any firearms on record. Only 20 years later, most marksmen carried handguns instead. They took forever to load, but were slightly cheaper than crossbows, and bullets delivered several times more energy than bolts.

This guy here carries a matchlock arquebus used from around 1475 on in Burgundy, and in Poland presumably quite later. Since I aim at Pomerania in 1471, maybe he got an early overseas shipment? (sources: Grabarczyk "Piechota zaciężna" 2000, Williams "The Knight and the Black Furnace" 2003)

24/03/2025

Pomeranian crossbowmen (2)


According to a decree from Polish Sejm of 1477, during a war, towns were to supply foot soldiers armed with crossbows, shields, helmets, gauntlets and breastplates. Mercenaries from the period listed in the rosters of Poland and Germany, however, had way less robust gear.

A Polish mercenary crossbowman carried a crossbow (duh), a sidearm (usually a sword, a sabre or a falchion), rarely a helmet and/or a shield – and nothing else. For Germans, pavise shields were common. And my Pomeranians? Maybe something similar to Poland or Germany. It's guesswork.


This fellow in yellow is probably quite well off, with his nice kettlehat helmet. 

Sources: Grabarczyk 2000, "Piechota zaciężna Królestwa Polskiego w XV wieku"; Kutrzeba 1937, "Polskie ustawy i artykuły wojskowe: od XV do XVIII wieku", Kurfürstlich Sächsische Kriegsknechte 1475.

22/03/2025

Pomeranian crossbowman, 1471


Crossbowmen formed the core of late 15th century mercenary infantry for both Poland and Holy Roman Empire. With few sources available for town militias of the Duchy of Pomernia, building crossbowmen has felt like a safe bet for me.

Sources: Grabarczyk 2000, "Piechota zaciężna Królestwa Polskiego w XV wieku"; Kurfürstlich Sächsische Kriegsknechte 1475 reconstruction group. The lovely terrain in the background was made by my friend.

12/03/2025

Pomerania 1471


In 1471, eleven towns of the Duchy of Pomerania renewed their alliance, pledging to send soldiers to each other in need.

There were wars in Pomerania in the coming years, but we don't know if the soldiers of the promised alliance ever took arms.

08/03/2025

Turm 2024: Grateful Dead


Last summer I joined the second Turm event held in Zagreb at UMS "Agram" by Ana Polanšćak of Gardens of Hecate fame. We were playing Forbidden Psalm, and my warband was the pious knight Sievert and the Grateful Dead.

The idea for my miniatures came to me when I was looking for references for 15th century Duchy of Pomerania at a local library and I found a history article about this painting from Kołobrzeg cathedral:

 (source: Wikipedia)

The painting, which is an epitaph of one Siewert Granzin from 1492, shows a knight praying for the dead, and the dead raising from their graves to defend him from his pursuers. It has become an instant favourite of mine -- the dead look so happy! And the Noble Necromancer was an idea I've really liked at least since I read the Lord of the Rings chapter with Aragorn leading the army of the dead.

Forbidden Psalm is based on the Mork Börg roleplaying game, and the RPG book uses a lot of moody old Public Domain art. So I thought using a painting reference for my warband would be a good match.

So here they are, the pious knight Sievert (name changed for the ease of pronunciation) and his dead retinue, wandering around the accursed graveyard-city of Graven-Tosk (or maybe the accursed Kołobrzeg):

The dead were hand-sculpted from scratch. I made three torsos and four heads, then cast them using Oyumaru and Milliput + Green Stuff mix. Hands and weapons were sculpted individually. The knight was a mixture of Perry Foot Knights and Perry Mercenaries parts, with a scratch-built bevor and sword sheath.

The banner was made following an old Massive Voodoo tutorial by David (here), butchered with a few shortcuts to save time. It was cut from graph paper, and when you look at it against a strong source of light, you see graph paper lines underneath the painting. I regret nothing.

Since I had several skulls to spare -- that's a very nice bonus you get for casting your own minis -- I made a few handy skull tokens to represent treasure, spell effects, objectives, and the like.


The minis were painted over a few days before the event in Zagreb, using borrowed Scale 75 paints (which take a while to get used to, but make for a lovely matt finish) and a Mig Ammo silver metallic, which turned out to be surprisingly great.

And here's a picture from the event. Terrain and photography by Ana Polanšćak:


22/02/2025

Woods

Late last year, I followed Ana Polanšćak's TUTORIAL on making trees and made a small forest.


The base is MDF with cork board and hot glue here and there on the top, with the bottom painted, PVA-covered and stretched to fix the warping. Grass is mostly MIG. Trees (real branches glued together, with sculpted fungi here and there; somewhat fragile) were basecoated with sprays, then painted using a primary school-grade brush with Renesans Flow art acrylics with a wonderful matt finish, plus some other paints I had around, with a photo reference of real tree trunks.

The varnish is a matt spray from the Action store, which hopefully preserved the paintjob while making the finish somehow less matt. That's exactly what a Citadel varnish would do, but five times cheaper.


26/03/2023

Hive Fleet Celaeno


Celaeno, 

a minor hive fleet active in a cluster of dim stars, 

emerging from dark waters in the half-light of day, 

twisting and coiling in frail gravity.

 
...a perfect biological laboratory...

 ...a unique set of forces converge here... 

...creating a major biological alliance...

...any waste is recycled...

...the tentacles draw the victim into the central mouth...


 ...as they evolve, each new branch represents a new species, diverging and growing evermore separate from its ancestors...

...can create colonies by cloning exact replicas of themselves...

...their strategy is mass production...

...millions of eggs, so that enough survive to drift across...

 ...the predators gorge themselves, but the mass-spawners will succeed...

...a clean slate never stays clean for long...

...can spawn all year round, because there are no seasons...
 

...its maze-like structure... a three-dimensional puzzle...

...but mass spawning creates plenty of chances to create hybrids...

...a hybrid makes an unusual addition to the family tree...

...whenever species interbreed, the branches reconnect...

...hiding away, they can feed and grow safe from predators...

...much about this relationship remains a mystery...

(the army is complete, at last)

(quotes from an old Terran preacher)


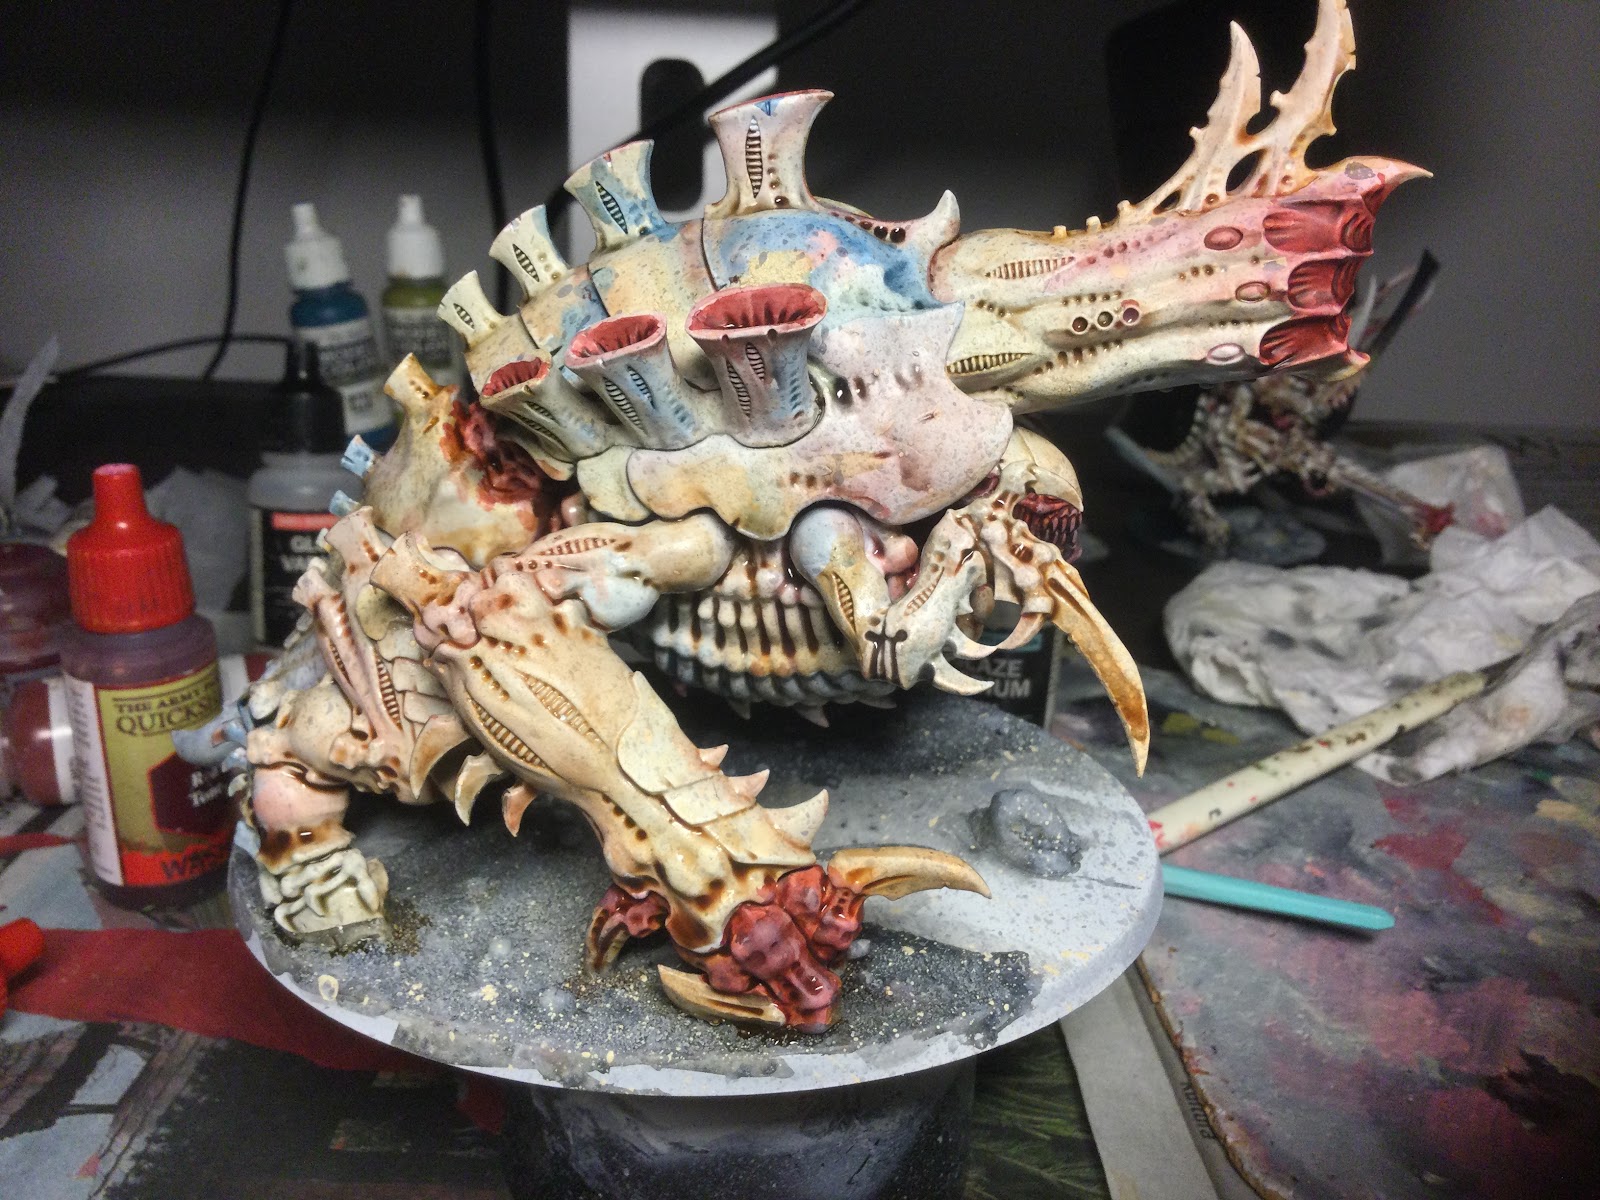
Hive Fleet Celaeno painting recipe


Assembly:
- I clean mould lines pretty thoroughly and aggressively.
- I glue the models with plastic cement (Revell Contacta) or with plastic cement mixed with mould line / sprue shavings.
- Where gaps would be visible and undesirable, I use a lot of glue and after it dries, I shave off the excess plastic goo (where this is not possible, I fill the gaps with Green Stuff and / or Milliput).
- I drill gun barrels, 1 mm drill bit for (heavy) venom cannons, 2 mm drill for fleshborers, even larger one for deathspitters.
- After basing (see below), I wash minis in water + dish soap using a toothbrush.

Basing:
- I make Oyumaru moulds of some stones and create larger rocks from Milliput.
- I make smaller pebbles from Milliput.
- I glue big rocks to bases with superglue.
- For places where I want to have water, I use sand paper (500 grit, then 1000 grit) to smoothen the base surface.
- I cover bases with superglue, and sprinkle them with small pebbles and sand / baking soda mix.


Painting
Paints needed:
Sprays: white with a smooth finish (Citadel White Scar), matt / satin varnish (Citadel Munitorum Varnish).
Acrylics: black (VMC Black, Scale75 Black), white (VMC White), warm off-white (VMC Pale Sand), dark red (VMC Dark Red), turquoise (VMC Turquoise), warm bright red (VMC Scarlet Red); sporadically: olive green (VMC Middlestone), brownish orange (Secret Weapon Orange Rust), tan (VMC Dark Sand).
Washes: light sepia (AP Light Tone), red (AP Red Tone), blue (AP Blue Tone).
Finish: gloss varnish (AP Gloss Varnish), matt varnish (AP Matt Varnish), blood effect (Citadel Blood for the Blood God).

No airbrush. Unless noted otherwise, every step is just 1 coat of paint. Unless noted otherwise, I use my paints with relatively thick "layer consistency" / "basecoat consistency".

I apply washes to the whole area (not just recesses). I use several washes at the same time. I don't mix them on the palette, but let them flow into each other on the mini.


Preparation:
- I undercoat with Citadel White Scar spray (pretty heavily, so that even recesses are white).
- I basecoat the bases with warm dark grey (VMC Black + VMC Dark Sand), watery consistency (almost like a wash).
- I drybrush the bases with brighter grey (VMC Black + VMC Pale Sand).
- I drybrush the bases here and there with VMC Pale Sand.
- I toothbrush splatter diluted pale grey (VMC white + VMC black) and VMC Pale Sand (in any order, pretty heavily).


Reds, except vents:
- I basecoat with purplish / brownish colour (VMC Dark Red + VMC turquoise, somewhat watery layer consistency. I can try mixing wet on wet on miniature to get more bluish shadows and more reddish highlights).
For later highlights, I use layering (stippling motions or feathering where necessary) or drybrushing:
- I highlight everything except the recesses with VMC Dark Red.
- when I need to blend red into white, I drybrush the border area with VMC Dark Red + VMC Pale Sand.
- I highlight with VMC Scarlet.
- (optional) I wash with AP Red Tone and AP Blue Tone (at the same time).
- (optional) I highlight with VMC Scarlet again.
- I spot highlight / edge highlight with peach colour (VMC Scarlet + VMC Pale Sand)


Whites, except teeth:
- I wash lightly, mostly with AP Light Tone + VMC Glaze Medium, here and there with AP Blue Tone + VMC Glaze Medium and AP Red Tone + VMC Glaze Medium (all washes at the same time, letting them mix on the mini).
- I wash vents with AP Red tone (while doing so, I can also fix any areas that didn't get the wash by mistake in the previous step).
- I glaze highlight with VMC White + water. This takes several layers and maybe some feathering, depending on my patience. Brightest spots and edges can be painted with layering-consistency white.
- weathering: I stipple very subtly, here and there, VMC Black.


Bases:
- I stipple very subtly, here and there, brownish orange (Secret Weapon Orange Rust).
- I stipple very subtly, here and there, olive green (VMC Middlestone).
- I paint water using loaded brush (diluted paint, VMC Middlestone + VMC Turquoise + VMC Black, flow marks are a feature, not a bug).
- I paint base rims black.


Claws:
- I stipple or drybrush VMC Black (over white, at any moment after white was washed).
- I edge highlight VMC Black + VMC Pale Sand.
- (optional) I paint the second edge highlight with a brighter mix of VMC Black + VMC Pale Sand.


Eyes:
- I paint them with VMC black (after the surrounding area was painted and washed; don't paint the edges of the eye).
- I add a single spot of white paint.

Teeth:
(after the mouth was painted and washed:)
- I paint each tooth separately with VMC Pale Sand.
- I highlight with VMC White (or just paint them with one coat of white and forget Pale Sand).


Finish:
- I lightly spray with Citadel Munitorum Varnish; wait for it to dry.
- I paint eyes and select fleshy parts with VMC Gloss Varnish (don't paint the edges of the eye).
- I use 2-3 coats of VMC Gloss Varnish on water on the bases.
- (optional) I add one more layer of white or black to the tips of horns, spikes, etc. to avoid paint damage, and then cover them with VMC Matt Varnish.
- I use Citadel Blood for the Blood God in the recesses around the spine and inside the chimney vents.

H.R.E.N.28: Turnip Adventures of the 44th Good Root Disciples

The Regiment of the 44th Good Root Disciples was formed partly because of the unfortunate demise of the 43rd regiment, and partly because of...